Here are a few photos showing the “Custom” Drip Rail Stainless Steel Moldings. The front A Pillar section had to be lengthened a couple of inches to accommodate the lowering of the Door Belt Line. We originally were going to make the Trim a dark color but the Shiny Stainless border helped to “box” the Window Frame openings and make them look smaller.
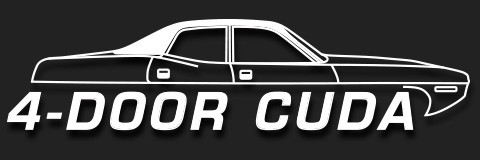
There were many bewildered opinions about the Roof-line of this project while the vehicle was under construction. All of the Trim Components had to be positioned in order to provide the appearance we had planned for from the beginning. Below are a couple of photos showing what a 4 Door Barracuda might have looked like if it had been Factory built and released to the Public.
When we built the Body of this Car, some of the underside component pieces had not been reproduced or readily available. The Emergency Brake Cable routing Bracket that is welded to the underside Floor Pan was one of those components. The entire Body and Underside went through the Primer & Paint stages without this piece welded into place. Once we were able to obtain the part, it had to be welded to the Floor Pan. The Primer & Paint had to be applied after the fact to match the surrounding areas.
Four small holes were drilled through the Floor Pan and the Bracket was plug welded into place after it had been Primed to match the bottom side of the Floor Pan. The discoloration from the welding had to be sanded off and an Airbrush was used to blend the colors of the surrounding areas. It was crucial to match the density and direction of the over-sprays to match the first layers that were applied at a different time. I had to adjust the spray patterns of the Airbrush to match the surrounding over-spray patterns that already existed. I did this by manipulating the thickness of the Primers/Paint as well as adjusting the air pressure of the Airbrush to spray tiny “dots” of primer & paint. Spraying from a calculated distance was also important in obtaining the right look. The surrounding areas were “back taped” to eliminate a hard line appearance or the possibility of too much coverage hitting the peripheries that had already been covered with paint. Here is a photo showing the results. Can anyone tell the part was added to the Floor and painted at a different stage in the process?
Here are a few of photos showing the NOS Fram Air Filter Element that was sent to me by my Friend Steven Juliano. It was ironic that of all the hardships we’ve encountered, this part was the most difficult for me to find. Of all the OE Restorations I have been involved with, this air element was nowhere to be found. I give a loud shout out and sincere “Thank You” to Steven for his kindness and generosity. When it comes to original parts, he’s the Man.


